Smoked/Grilled Chicken Thighs

Tonight we had some large skin-on, bone-in chicken thighs that needed cooking. Naturally, the BGE gets the call! I wanted a decent smoke flavor and a seasoning with some depth.

I lightly coated them with some olive oil, then seasoned both sides with Mike’s All Purpose Seasoning (Spicy Recipe). I purchased this a while back from a vendor at the Livingston Farmers’ Market, yet I had only used it a time or two. (Website for Mike’s – http://www.mikesseaonings.com ).
IMG_2963

Egg set-up: In the past I have used both indirect & direct cooks for chicken. The indirect cook allows using a high temp, but it is difficult to get a crispy skin (elevated, indirect helps). With a hot, direct cook, one gets crispy skin, but at the risk of flare-ups that often give black, charred skin instead. The set-up from my pork chop cook yesterday gave me an idea for a new technique. Two Grill Grate panels were resting on the lower level of my Adjustable Rig (AR), about 4-5 inches below the top of the AR, on which the BGE grid was positioned. I thought this would give a pseudo, or false indirect cook since the Grill Grates would block most of the direct heat from the lump (they have multiple holes in them to let drippings fall through without flaring up), but they would emit considerable heat for cooking the thighs from underneath.

Adjustable Rig with Grill Grates on the lowest level and the BGE grid on top . (Buy Grill Grates on Amazon – Grill Grates  ).
IMG_2965

On the way home from work I heard an ad for a great BBQ restaurant saying they cook with a combination of hickory and pecan. I thought – why not?  After I got a clean, 350* fire burning, I added 2 small chunks of hickory and 2 handfuls of pecan chips (all dry). After the heavy white, acrid smoke burned off, I placed the thighs, skin up, on the grid. I was amazed at the great color on them with the first check, when I was inserting a Maverick E-732 wireless, continuous-read thermometer. (Buy at Amazon – Maverick E-732 ).

IMG_2964

When the internal temp reached about 145-150*, I removed the thighs and the grid. I then seared them on the Grill Grates for 2 minutes on each side. Final temp was 165-180*, depending on the size of the thigh.

IMG_2967

They were juicy, had a great smoke flavor, and the Mike’s Seasoning really worked well. It met Jana’s approval and was served with black rice, pan-roasted broccoli florets, a salad and Asian dipping sauce.

IMG_2968

Enjoy,
Misippi Egger
(Clark Ethridge)

**********

Ingredients:
Bone-in, skin-on chicken thighs
Olive Oil
Favorite rub or herbal seasoning

Instructions:
(1) Lightly coat both sides of the thighs with olive oil, then generously apply the rub or seasoning of choice.
(2) Prepare a fire at 350-400* and add hickory and pecan chunks or chips. When heavy white smoke clears one can begin the cook.
(3) Indirect technique – works better if one can create an elevated cooking surface, as the heat coming from the ceramic dome will help cook the chicken faster and crisp up the skin. With indirect, I will sometimes get the dome temp closer to 500*.
(4) Direct technique – build a smaller fire (less lump) and try to elevate the grid as far from the lump as possible. This will allow a hotter fire (400-500*), but less flare-ups since the distance to the lump is increased. Turn thighs frequently to prevent excessive charring of the skin.
(5) Combo technique – begin cook indirect and then use a direct sear when the internal temp reaches about 150*.
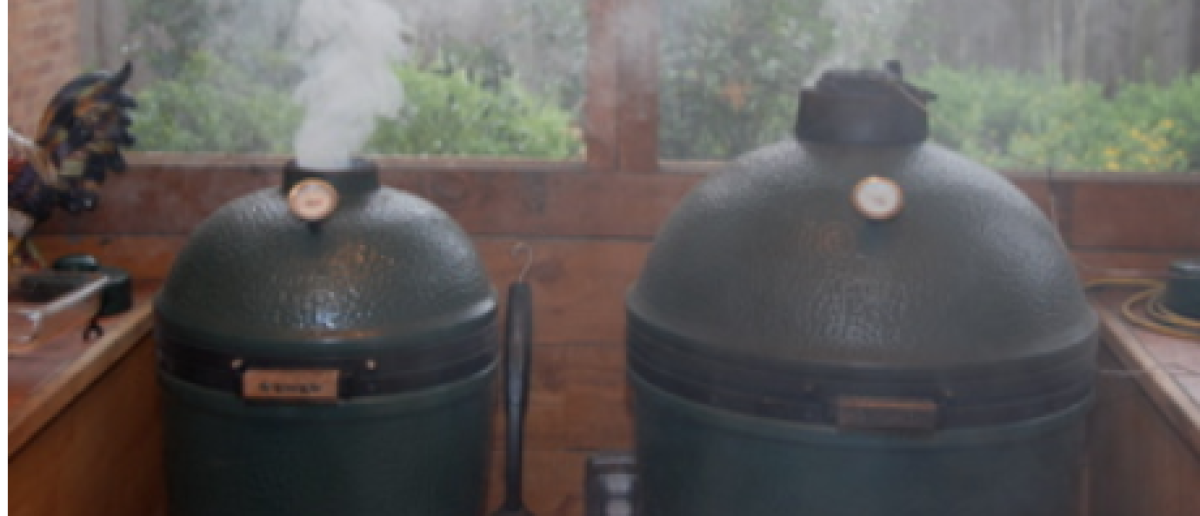
Slow-smoked Chickens on a BGE

You know how good the smoked pulled chicken is in a BBQ joint or how tender the rotisserie chickens are at the local grocery store? I have been unsuccessful in achieving these kinds of results when roasting chickens on my BGE. I’m not saying I don’t roast great chickens, just not easily pulled or “fall apart tender”. So I bought 4 whole chickens at the grocery store and started developing a plan…….

I wanted to cook them low & slow to get a good smoked flavor in addition to making them very tender. My plan was also to place roasted chickens in the freezer for future meals. At 300-350*, most whole chickens are usually done in 45-60 minutes, but I wanted to cook these at 180* or so for a longer time.

To be able to cook all four, I used the chickens (still in their packaging) to help determine the fit on the Egg and I came up with a plan using products from the The Ceramic Grill Store. After loading the large Egg with lump and apple chunks plus apple and cherry chips, I placed a ‘spider‘ on the fire ring. On that (about 2″ below the fire ring), I placed a 13″ BGE pizza stone as my indirect piece. I then put a rectangular, foiled drip pan on a ‘slide guide’ on the bottom level of the ‘Adjustable Rig (AR)‘, with an oval grid on a slide guide just above the drip pan. The ‘rig extender‘ fit on top of the AR with the second oval grid on that.
IMG_2546

While the Egg was coming up to temp, I put 4 different rubs on the chickens – Rebel Rub (local), Cluck and Squeal’s All Purpose rub, Dizzy Pig’s Shaking the Tree rub, and Gunpowder (a new rub I got in a “swap” with a neighbor who reads this blog). The chickens were placed on the BGE, after it had been stabilized by my DigiQ controller at about 180*(with the stone, drip pan and grids inside).

IMG_2548

I ran into issues when my controller would not maintain the 180* grid temp, where it was set. I suspect this was related to the need to replace my ‘leaky’ gaskets. The grid temp crept up to 240-260* despite almost completely closing the top vents. After about 2 hours (chicken internal temp at about 140*), I turned off the DigiQ, barely cracked open the daisy wheel and left it alone for about 2 more hours. The grid temp drifted down to 210*, so I turned it back on and it stayed in the 210-225* range for the balance of the cook. When the thigh temp reached 180*, I removed all four chickens – a total cook time of 8 hours.

IMG_2549

The ones in the picture below were on the top rack and the skin got a little more crispy than the bottom rack (note to self – rotate the racks at least once in the future so all four get exposure to the heat coming off the dome onto the top rack).
IMG_2551

Bottom rack – the left one had the “Gunpowder” rub (which ‘looks’ like gunpowder).
IMG_2550

After resting on a cooling rack, then spending the night in the refrigerator, I cut them into halves, vacuum-sealed and froze for future meals. We did eat the first one, which happened to be the “Rebel Rub” one, and it was tender, juicy and flavorful. They all had a prominent (not overbearing) smoky aroma! Success!

This is a great way to cook several meals in one smoke session, if one has the accessories to create a multilevel cook. This can also be done with fire bricks separating the two grids or with other brands of multilevel grids.

**********

Enjoy,
Misippi Egger
(Clark Ethridge)

Serves 2

Ingredients:
1-4 whole chickens (4-5# each)
Olive Oil
Rub of choice

Instructions:
(1) Remove the neck and other parts from inside the chicken cavity and rinse well.
(2) Drizzle olive oil on the outside of the chicken and spread around to cover all areas to help the rub stick.
(3) Liberally cover the outside of the chicken with the rub, as well as inside the cavity.
(4) Prepare the grill for a 180-200* indirect cook with a drip pan to catch the considerable fat that will be rendered. Use large amount of fruit wood chunks and/or chips (cherry or maple will help enhance the skin coloring).
(5) Roast slowly until the internal temperature of the thigh reaches 180-200*. Remove and serve immediately or allow to cool before cutting up