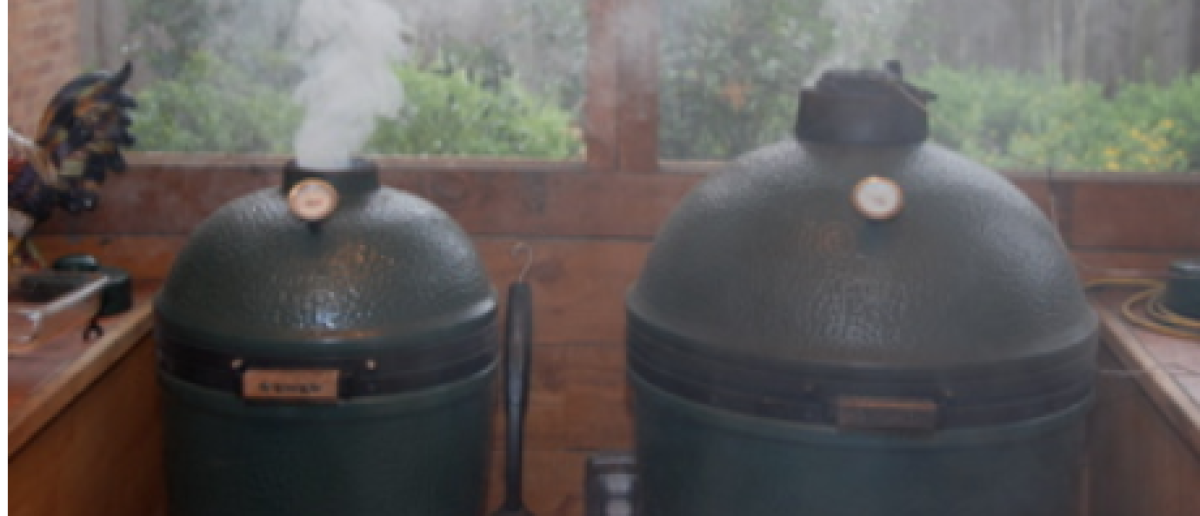
I purchased a 4-pack of pork tenderloins from Sam’s Club and prepared two for this test cook. This recipe requires some planning as it requires an overnight marinate.
First I prepared the dipping sauce and placed it in the fridge to allow the flavors to blend over a day or so. Then I made the marinade and planned to marinate the pork overnight, but it ended up being about 28 hours (it didn’t seem to make any difference).
As soon as an intense, but brief, thunderstorm passed, allowing me to get outside, I cooked the tenderloins at 375* over an indirect fire.


I basted them with reserved marinade and turned frequently. When they were close to being done (140-145* internal temp), I “painted” them with the finishing sauce. I then removed them from the fire, removed the indirect piece and ramped up the direct fire to about 600*. (With a non-ceramic grill, a 2-level fire allows one to do the first part away from the coals, then move them directly over the fire for this second part). I then charred them, carefully turning to prevent burning of the sugary finishing sauce.


I rested the pork for a few minutes, then sliced into thin pieces (16-18 per tenderloin). The recipe calls for one to dip each piece in the dipping sauce, then into a bowl of toasted sesame seeds. I decided that might be messy with a large crowd, so I drizzled the dipping sauce over the slices then sprinkled with the toasted sesame seeds.

Plated with steamed broccoli, mushrooms sautéed in olive oil & wine, and pan-roasted onions and peppers.

Enjoy,
Misippi Egger
(Clark Ethridge)
**********
Makes 50-75 slices
Ingredients:
4-6 pork tenderloins
Sesame seeds
Marinade:
- 5 teaspoons Sugar
- 1.5 teaspoons Salt
- 2 cloves Garlic, minced (in the tube ok)
- 1 teaspoon Ginger, minced (in tube ok)
- 4 tablespoons Ketchup
- 4 tablespoons Soy sauce
- 5 teaspoons Wine
- 1 teaspoon 5-spice powder
Finishing Sauce:
- 1 tablespoon Hoisin sauce
- ¼ cup Honey
Dipping Sauce:
- 12 ounce jar Plum preserves, or jam
- 2 tablespoons Vinegar
- 1 tablespoon Brown sugar, packed
- 1 teaspoon Red chili pepper, finely chopped, dried
- 1 clove Garlic, minced (or in the tube)
- 1 tablespoon Green onions, finely chopped
- ½ teaspoon Ginger, ground
Instructions:
(1) Make the dipping sauce 1-2 days ahead of the cook. Combine all the ingredients, except the sesame seeds, and bring to a boil, stirring constantly. Remove from the heat and cool. Refrigerate in a covered container overnight to blend flavors. Prior to serving, toast sesame seeds and place in a separate bowl.
(2) Make the marinade and marinate pork for at least 4 hours, or overnight (8 hours) if you wish. Make the finishing sauce while the cooker is coming up to temp; keep at room temperature. The finishing sauce can be warmed slightly or thinned with a little apple juice.
(2) Preheat cooker to 375° with an indirect or raised direct set up. Roast the tenderloins until the internal temperature is around 150°, basting occasionally with the reserved marinade. Turn & rotate as needed. When close to done, baste with the finishing sauce, remove and rest for a few minutes. You can add more finishing sauce to even out the coating. Either ramp up the cooker and briefly move the tenderloins directly over the coals or move into an oven set on broil in order to glaze the meat. Be careful not to burn the glaze.
(3) Let pork cool and cut into thin slices. Serve the plum sauce and toasted sesame seeds along side the sliced pork. Dip the sliced pork into the plum dipping sauce, then into the sesame seeds. As an option, you can drizzle the dipping sauce over the slices and sprinkle with the sesame seeds.
(Thanks to Wayne Nelson (aka “Third Eye”) for this recipe).


